

There’s nothing quite as comforting or indulgent as homemade chocolates and when it comes to making your own set of scrumptious treats, you can get as creative as you wish.
While you may have relied on a chocolate gift subscription to send treats to others, why not make it more personal and special by creating your own delicious homemade chocolate?
Although it may seem daunting, making chocolate by yourself is relatively easy. If you’re a beginner attempting to make your own chocolate, being aware of a few tips can help you start off great.
That said, if you’re looking for ways to make chocolate at home, we’ve got you covered. Here is a list of tips and ideas that are sure to help you start with your chocolate making journey.
1. Narrow Down The Type Of Chocolate
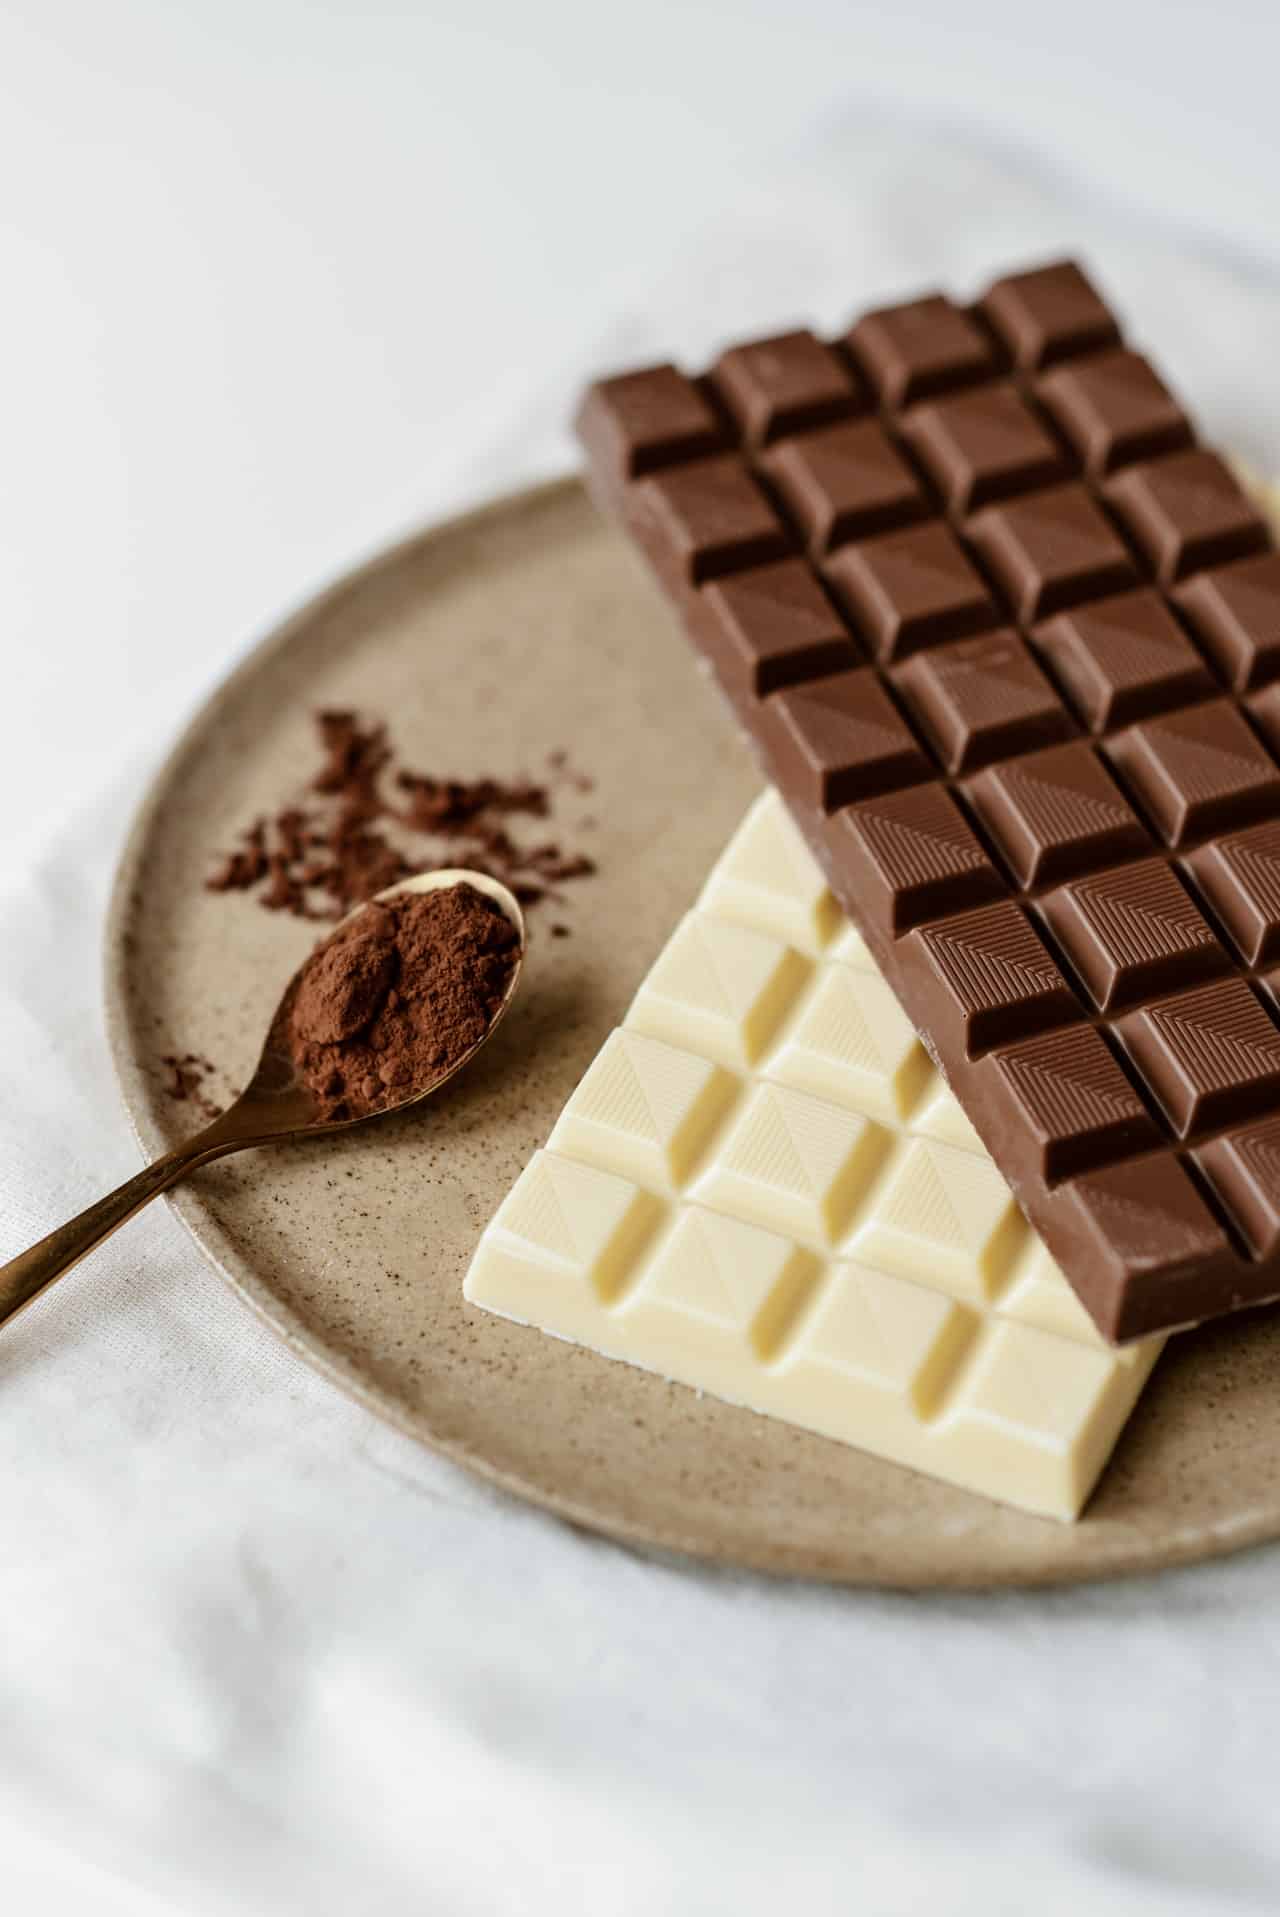
Let’s face it, when it comes to chocolate, we all have enough experience to distinguish between the basics – white, dark and milk chocolate. Here, narrowing down your favourite to create your own bespoke chocolate is the next step.
By selecting the right chocolate for your palette, you can customise it according to your preferences.
If you’re having trouble choosing the right one, keep this in mind –
- White chocolate – Sweeter than the milk and dark chocolate; challenging when used to cook
- Milk Chocolate – Sweet, creamy and versatile; very easy to use
- Dark Chocolate – Healthy but more intense with a slightly bitter aftertaste
Since all of us have different preferences, choosing the type of chocolate you want to work with beforehand can help you customise the cooking process and adjust the flavour profiles accordingly.
Moreover, this will also help you decide what flavours you can further use to enhance the taste of the chocolate.
2. Stay Equipped With The Right Tools
Behind every successful culinary creation, the right tools have played an important role. While the flavour of the chocolate is without a doubt important, it can only be achieved when you have the proper tools (or suitable alternatives to the tools) to create a stunning sweet treat.
If you’ve ever got a chocolate subscription box, you must have noticed that all the chocolates are uniform with a smooth glossy or matte finish. This is mostly achieved through the correct use of chocolate making equipment. That said, basic tools – such as palette knife and scraper, moulds, piping bags, digital thermometer, smooth spatula and whisk – can make the creation process much easier for you.
While you can always expand your toolbox further down the line, having basic equipment with you will definitely help you get a smooth start with your chocolate making journey.
3. Consider Additional Ingredients
The best part about making your chocolate over getting a monthly chocolate subscription is that you get to personalise the flavours however you want.
Have you ever tried a piece of delectable chocolate and wished there were more hints of berry in it? Or perhaps you wished it were a little lighter on sugar? If you answered yes to any of these or have other alterations you wish your chocolate had, then homemade chocolate is the best way to go.
Adjusting the basic flavour profiles and enhancing the cocoa flavour further by adding your own ingredients can help you create bespoke chocolate that meets all your flavour needs. If you’re looking to try out something new, chocolate goes well with a variety of ingredients. From lavender to tea, there are many different flavour combinations you can try out!
4. Get The Right Temperature
The two important steps behind making delicious and stunning chocolates are picking the right type of chocolate and following the right tempering method. This means knowing the right temperature and choosing the right chocolate bar or disk can make all the difference.
That said, milk chocolate and white chocolate have around the same temperature requirements of 105-114° F for melting and 87° F for tempering. However, dark chocolate requires a slightly higher temperature of 113-120° F for melting and 86-90° for tempering.
Aside from the temperature, the method is equally important. Whether it is seeding or tabling, make sure you know the process beforehand to ensure you get everything done smoothly. Moreover, you can also try the microwave method if you want to keep things a bit easier.
5. Don’t Underestimate The Cooling Process
The entire chocolate making process is very exciting and there are chances that you may be tempted to cut down on the cooling time to enjoy your delectable creation. However, for good results and aesthetically appealing chocolate, you may want to hold on a bit.
The cooling process, especially at room temperature, is essential in getting smooth and soft chocolate.
From removing the chocolate out of the moulds too quickly to putting it in the fridge earlier than required, your chocolate texture may get messed up leaving you with an unattractive look and the wrong texture.
Additionally, when unmolding the chocolate, make sure you do it with utmost care to avoid your cocoa creations from being cracked or broken into pieces.
To Sum Up
Making your own chocolate is a satisfying experience, there’s nothing quite like this feeling. With the added advantage of personalising and creating unlimited chocolate, homemade chocolates are always a good idea.
Whether you’re a novice or an expert, following a few basic steps can help you create bespoke chocolate from scratch.
I conceive this site holds some very good info for everyone : D.